Step-by-step Guide on How to Wrap a Mother's Day Gift
Wrapping a gift can be just as important as the gift itself, especially when it comes to showing your mom just how much she means to you. A beautifully wrapped gift adds a personal touch that can make any occasion feel extra special, particularly on Mother's Day. But how do you ensure your wrapping is as thoughtful as the gift inside? creative card wording.
This guide will walk you through each step of the wrapping process, from selecting the right materials to the final touches that will impress your mom. Let's dive into the art of wrapping a Mother's Day gift!
Table of Contents

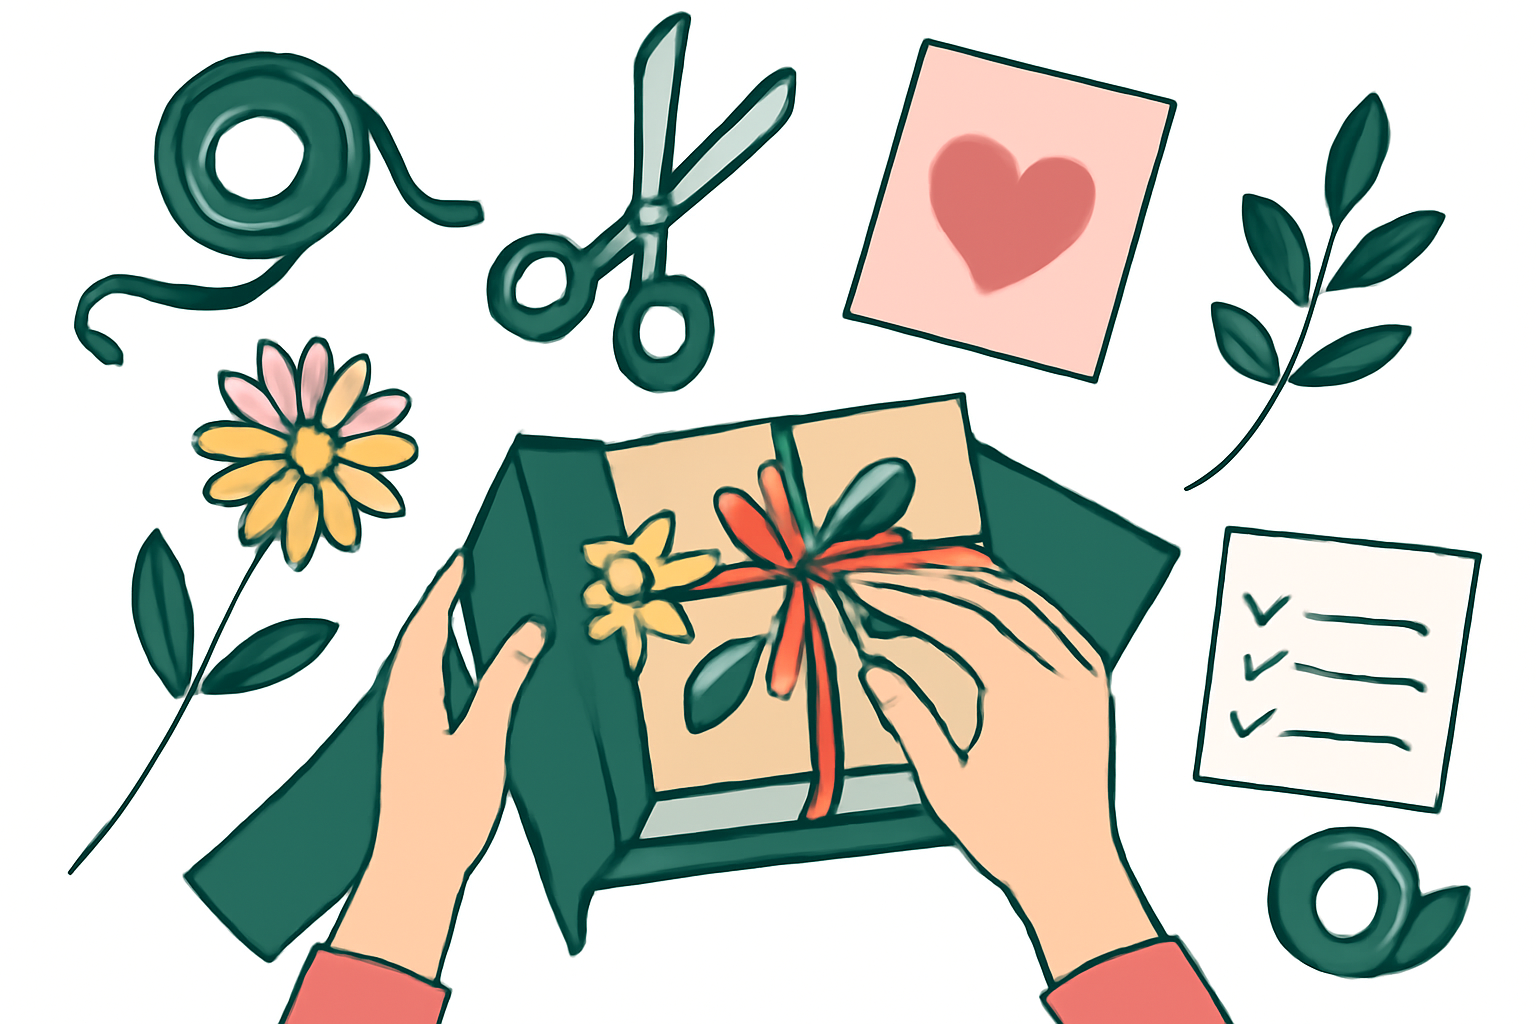
Step 1: Gather Your Supplies
Before you start wrapping, it's essential to gather all the necessary supplies. Having everything on hand will make the process smoother and more enjoyable. Here's a detailed list of what you'll need, along with some tips for selecting the right materials: The Ultimate Guide to Finding the Perfect Mother's Day Gift.
- Wrapping paper: Choose something floral or colorful to match the occasion. Consider the recipient's favorite colors or patterns. For a personal touch, you might even opt for custom-printed paper featuring family photos or meaningful quotes.
- Scissors: A good pair of sharp scissors is crucial for clean cuts. Avoid using dull scissors, as they can tear the paper and make your wrapping look unprofessional.
- Clear tape or double-sided tape: Clear tape is great for securing the edges of the wrapping paper, while double-sided tape gives a clean finish. Make sure to have enough tape on hand, as running out mid-wrap can be frustrating.
- Ribbon or twine for decoration: Choose a ribbon that complements your wrapping paper. Satin ribbons add elegance, while twine provides a rustic charm. Consider using multiple colors or textures to create a layered look.
- Gift tag (optional): A gift tag adds a personal touch, allowing you to write a heartfelt message. You can buy pre-made tags or create your own using cardstock. If you're feeling crafty, consider decorating the tags with stickers or drawings.
- A flat surface to work on: Ensure you have a clean, spacious area to wrap your gifts. A large table or a clean floor works well. If you're working on a floor, consider laying down a large piece of cardboard to protect it from cuts and tape residue.
Once you've gathered your supplies, take a moment to organize them. Grouping items together can save you time and make the wrapping process more efficient. For example, keep your tape, scissors, and tags in one area, while your wrapping paper and ribbon are in another. This way, you won't have to search for items while you're in the middle of wrapping. How to Choose the Perfect Mother's Day Gift in 6 Steps.
Additionally, consider the size of the gift when selecting your wrapping paper. Larger gifts may require more substantial paper, while smaller items can be wrapped with smaller sheets. If you have multiple gifts of varying sizes, it can be helpful to have different rolls of paper available to ensure a perfect fit for each item.
Finally, don't forget about the environment! If you're concerned about sustainability, look for eco-friendly wrapping options, such as recycled paper or fabric wraps. These options not only look great but also reduce waste, making your gift even more thoughtful.
Step 2: Measure the Wrapping Paper
To avoid wasting paper and ensure a neat wrap, follow these steps:
1. Place the Gift
Position your gift box or item in the center of the wrapping paper. Make sure it's facing up and is ready to be wrapped. If your gift is irregularly shaped, consider how it will sit on the paper to maximize coverage. If you're wrapping something like a vase or a framed picture, ensure you have a sturdy base to work with.
2. Measure the Paper
Pull the wrapping paper over the gift, making sure it covers the entire item. You want enough excess on each side to fold over the edges, typically about 2-3 inches beyond the gift. Here's a quick checklist to ensure you measure correctly:
- Check the width: Ensure the paper is wide enough to cover the sides of the gift. For larger items, you may need to use two pieces of wrapping paper.
- Check the length: The paper should extend beyond the ends of the gift. For standard boxes, 2-3 inches on each side is usually sufficient.
- Consider the gift's height: Taller items may require more paper to cover the top adequately.
If you're unsure, it's better to err on the side of caution and cut a little more paper than you think you need. You can always trim excess later, but adding more paper once it's cut is a hassle.
3. Cut the Paper
Once you have the right amount of paper, cut it with your scissors. A straight edge will make for a cleaner look. Here are some tips to make your cutting process smoother:
- Use a sharp pair of scissors: Dull scissors can result in jagged edges, which can ruin the aesthetic of your wrapping.
- Make your cut in one smooth motion: This will help ensure that the edge is straight and clean.
- For patterned paper, align the cut with a design line: This can help hide any imperfections in your cut.
After cutting, lay the paper flat and check for any wrinkles or creases. Smooth out any imperfections before proceeding to the next step, as this will help your gift look polished and professionally wrapped.
Step 3: Wrap the Gift
Now that you have your paper cut, it's time to wrap the gift:
1. Position the Gift
With the gift in the center of the paper, fold one side over the gift and secure it with tape.
2. Fold the Sides
Next, fold the sides of the paper inwards, creating flaps. Tuck the edges in neatly to form a triangular shape and tape them down. Repeat on the other side.
3. Secure the Bottom
For gifts with a box shape, make sure to tape down the bottom well so it stays secure. If it's irregularly shaped, do your best to fold and tuck the paper neatly.
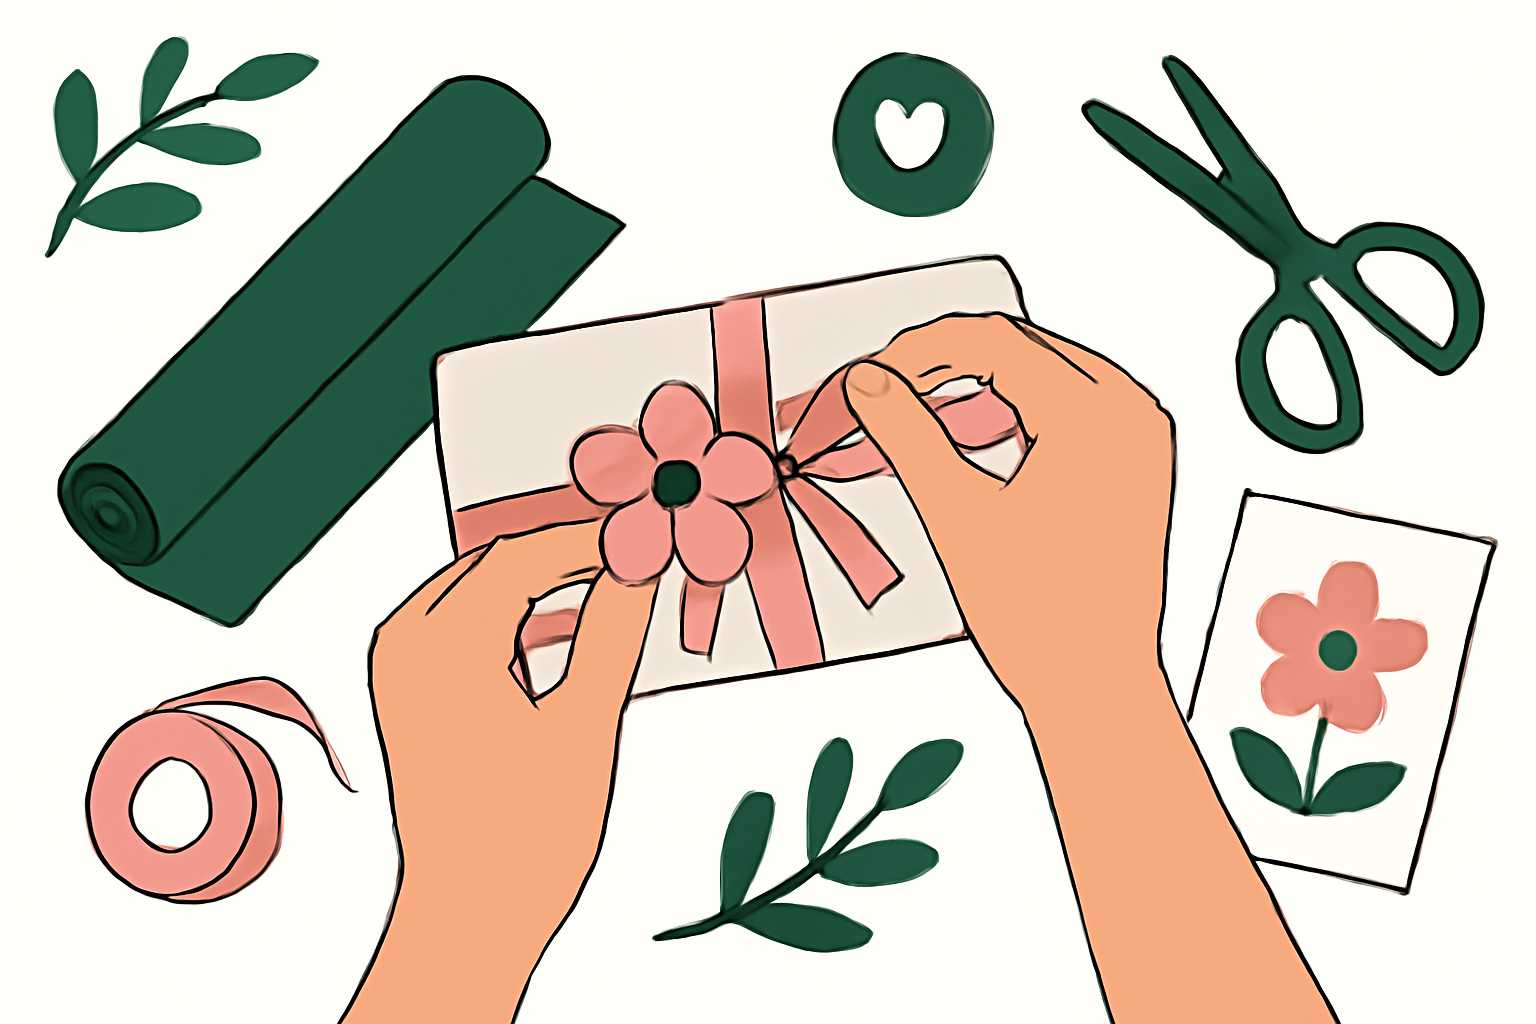
Step 4: Add the Finishing Touches
Once the gift is wrapped, it's time to add some flair:
1. Ribbon or Twine
Use a ribbon or twine to wrap around the center of the gift. You can create a bow for a more festive look. This adds elegance and makes the gift stand out. Here are some practical tips for using ribbon or twine:
- Choose the Right Material: Satin ribbons give a luxurious feel, while burlap twine offers a rustic charm. Consider the recipient's style when selecting your material.
- Bow Techniques: For a classic bow, create two loops and tie them together in the center. For a more modern look, try a simple knot or a faux bow that lays flat against the package.
- Layering: Consider layering different types of ribbons or twine for added texture. For example, a thin twine wrapped around a wider satin ribbon can create a beautiful contrast.
- Length Matters: Make sure to cut enough ribbon or twine to allow for a generous bow. A good rule of thumb is to use about three times the width of the gift for wrapping.
2. Gift Tag
Attach a gift tag with a personal note. This small detail can make a big difference and adds a personal touch to your gift. Here's how to make your gift tag truly special:
- Choose Your Tag: You can buy pre-made gift tags or create your own using cardstock or decorative paper. Consider using a tag that matches the wrapping paper for a cohesive look.
- Personalize It: Write a heartfelt message or a funny note that reflects your relationship with the recipient. A simple "Happy Mother's Day!" can be made special with a personal touch, such as "Thanks for being the best mom ever!"
- Decorate the Tag: Add some doodles, stickers, or washi tape to the tag to make it pop. This extra effort shows that you care about the details.
- Placement: Attach the tag securely to the ribbon or twine, ensuring it's visible. You can also tie it to the bow or place it underneath the ribbon for a surprise element.
3. Additional Decorative Elements
Consider adding other decorative elements to enhance the overall look of your gift:
- Flowers: Fresh or faux flowers can be a beautiful addition. Tuck a small flower or two into the ribbon or attach a mini bouquet to the gift for a lovely touch.
- Seasonal Decorations: Depending on the occasion, incorporate seasonal elements. For Mother's Day, think about including small charms, butterflies, or hearts that symbolize love and appreciation.
- Stickers or Stamps: Use decorative stickers or stamps to embellish the wrapping paper or tag. This adds a fun and creative flair without much effort.
4. Final Inspection
Before presenting your gift, take a moment for a final inspection:
- Check for Wrinkles: Smooth out any wrinkles or creases on the wrapping paper to ensure a polished look.
- Secure Loose Ends: Make sure all edges are securely tucked in and that the ribbon or twine is tightly fastened.
- Presentation: Consider the presentation. Place the gift in a spot where it can be admired before it's opened, such as on a table or a decorative surface.
Adding these finishing touches will not only enhance the visual appeal of your gift but also convey the thoughtfulness behind your gesture. Remember, it's the little details that make a big difference!
Common Mistakes to Avoid
As you're wrapping your Mother's Day gift, keep an eye out for these common pitfalls:
- Using too much or too little wrapping paper - measure carefully! A good rule of thumb is to lay the gift in the center of the paper and pull the sides up to see if they overlap by at least 2 inches. If they don't, you may need a larger piece.
- Rushing through the process - take your time to ensure neatness. Wrapping a gift is an art form! Set aside enough time to do it right, ideally 15-30 minutes, depending on the complexity of the gift. This can make a huge difference in the final presentation.
- Forgetting to secure the edges properly - this can lead to an unkempt appearance. Use double-sided tape for a clean look, and don't skimp on securing the seams. Make sure the edges are tucked in neatly and the paper is smooth to avoid any awkward bulges.
Additional Common Mistakes
- Ignoring the theme or occasion - consider using wrapping paper that matches the Mother's Day theme. Floral patterns or pastel colors can add an extra touch of thoughtfulness.
- Neglecting to add a personal touch - a heartfelt note or a small card can elevate your gift. Don't forget to include a personal message that expresses your love and appreciation.
- Overcomplicating the wrapping - while creative wrapping can be fun, it's important to keep it simple. Too many layers or embellishments can make it look cluttered. Stick to one or two decorative elements, like a ribbon or a bow, to keep it classy.
- Using the wrong type of tape - avoid using scotch tape, which can be weak and visible. Instead, opt for gift wrap tape that is designed to hold well and blend in with the paper.
- Not considering the recipient's preferences - if your mom has a specific style or favorite colors, incorporate those into your wrapping. This shows that you put thought into the entire gift, not just the item inside.
Checklist for Perfect Wrapping
To help you avoid these common mistakes, here's a handy checklist:
- Choose the right size and type of wrapping paper.
- Gather all necessary materials: scissors, tape, ribbon, and a card.
- Measure the paper before cutting to ensure proper fit.
- Wrap the gift neatly, making sure corners are sharp and edges are secure.
- Add a personal note or card before sealing the package.
- Finish with a decorative element, like a bow or a ribbon, that complements the wrapping.
By keeping these common mistakes in mind and following the checklist, you'll ensure that your Mother's Day gift is beautifully wrapped and ready to impress. Your mom will appreciate the effort you put into making her gift feel special right from the moment she sees it!
Checklist for Success
To make sure you've covered all your bases, here's a quick checklist:
- Have all your supplies ready?
- Measured the wrapping paper correctly?
- Wrapped the gift securely and neatly?
- Added a decorative touch with ribbon or twine?
- Included a thoughtful gift tag?
Supplies Checklist
Before you start wrapping, gather all necessary supplies to ensure a smooth process. Here's what you'll need:
- Wrapping Paper: Choose a design that resonates with your mother's personality or the occasion.
- Scissors: Sharp scissors make cutting easier and cleaner.
- Tape: Double-sided tape can provide a cleaner finish, but regular tape works too.
- Ribbons or Twine: Consider using contrasting colors or textures for added flair.
- Gift Tags: Pre-made tags can save time, or you can create personalized ones.
Measuring and Cutting the Wrapping Paper
Proper measurement can save you from awkwardly short or overly long pieces of paper. Follow these steps:
- Place the gift box on the wrapping paper and roll it to ensure you have enough to cover all sides.
- Leave about 2-3 inches extra on each side for a neat fold.
- Cut the paper straight across for a clean edge.
Wrapping the Gift Neatly
Now that you have the right size of wrapping paper, it's time to wrap the gift. Here's how:
- Center the gift on the paper, with the decorative side facing down.
- Fold one side of the paper over the gift and secure it with tape.
- Fold the opposite side over, pulling it taut, and tape it down.
- For the ends, fold the sides inward to create flaps, then fold them over the gift and secure with tape.
Ensure that the corners are sharp and the paper is tight against the gift for a professional look.
Adding Decorative Touches
Ribbons and twine can elevate your gift's appearance. Here's how to do it:
- Cut a length of ribbon or twine that is 2-3 times the width of the gift.
- Wrap it around the gift box, crossing the ribbon at the top.
- Create a bow or knot, adjusting the loops to your liking.
- Consider adding embellishments like small flowers or charms for a unique touch.
Including a Thoughtful Gift Tag
A well-written gift tag can add a personal touch. Keep these tips in mind:
- Choose the Right Tag: Select a tag that complements your wrapping paper.
- Write a Heartfelt Message: A simple "Happy Mother's Day!" or a personal note can make a big difference.
- Secure the Tag: Attach it with ribbon or tape, ensuring it's visible but not overpowering.
Common Mistakes to Avoid
To ensure your gift wrapping is a success, be aware of these common pitfalls:
- Insufficient Paper: Always measure twice to avoid running out of paper.
- Overly Complicated Designs: Keep it simple; sometimes less is more.
- Forgetting the Tag: Always remember to include a tag; it adds a personal touch.
- Messy Edges: Take your time cutting and taping to avoid ragged edges.
With this checklist in hand, you're well on your way to wrapping a beautiful Mother's Day gift that she'll cherish! Happy wrapping!
Conclusion
Wrapping a Mother's Day gift is an art that combines creativity and care. By following these steps, you can create a beautifully wrapped gift that your mom will appreciate just as much as the thoughtful present inside. Now that you're equipped with the know-how, gather your supplies, pick the perfect gift, and get wrapping! Remember, it's the thought that counts, and a well-wrapped gift can convey just how much you care.
Final Tips for Perfect Wrapping
As you prepare to wrap your Mother's Day gift, keep these final tips in mind to ensure your wrapping is as lovely as the gift itself:
- Choose the Right Materials: Select high-quality wrapping paper that reflects your mom's personality or the theme of the gift. Consider eco-friendly options like kraft paper or fabric wraps for a sustainable touch.
- Use Double-Sided Tape: For a clean finish, double-sided tape can help keep edges tucked away and create a polished look.
- Incorporate Personal Touches: Adding a handwritten note or a small embellishment like a flower, ribbon, or a charm can make your gift stand out.
Common Mistakes to Avoid
Even the most seasoned gift wrappers can make mistakes. Here are some common pitfalls to avoid:
- Insufficient Paper: Before cutting, measure your gift and ensure you have enough paper to cover all sides, leaving a little extra for overlap.
- Uneven Edges: Take your time to cut straight lines. Uneven edges can make the wrapping look rushed and unprofessional.
- Overdoing the Tape: While tape is necessary, using too much can make the gift look bulky and messy. Aim for a balanced approach.
Examples of Creative Wrapping Ideas
To inspire your wrapping creativity, consider these unique ideas:
- Fabric Wrap: Use a beautiful scarf or piece of fabric instead of traditional paper. This not only looks stunning but also provides a secondary gift.
- Gift Baskets: For multiple smaller items, consider a basket. Wrap the entire basket in cellophane and tie it with a ribbon for a charming presentation.
- Theme-Based Wrapping: If your gift has a specific theme (like gardening or cooking), use wrapping paper that reflects that theme or include related items in your wrapping, like seed packets or recipe cards.
Wrapping Up with Love
Ultimately, the wrapping of your Mother's Day gift is an extension of your love and appreciation. Take your time, enjoy the process, and don't hesitate to get creative. Every fold and ribbon is a chance to express how much your mom means to you. So gather your supplies, put on some music, and make the wrapping as joyful as the gift itself!
If you are looking for the perfect personalized gift for any occasion, you are in the right place. Click "Learn More" now and checkout all the amazing personalized gifts we have on our store. (We even have live previews!)
Learn More